Training, Technique & Benefits
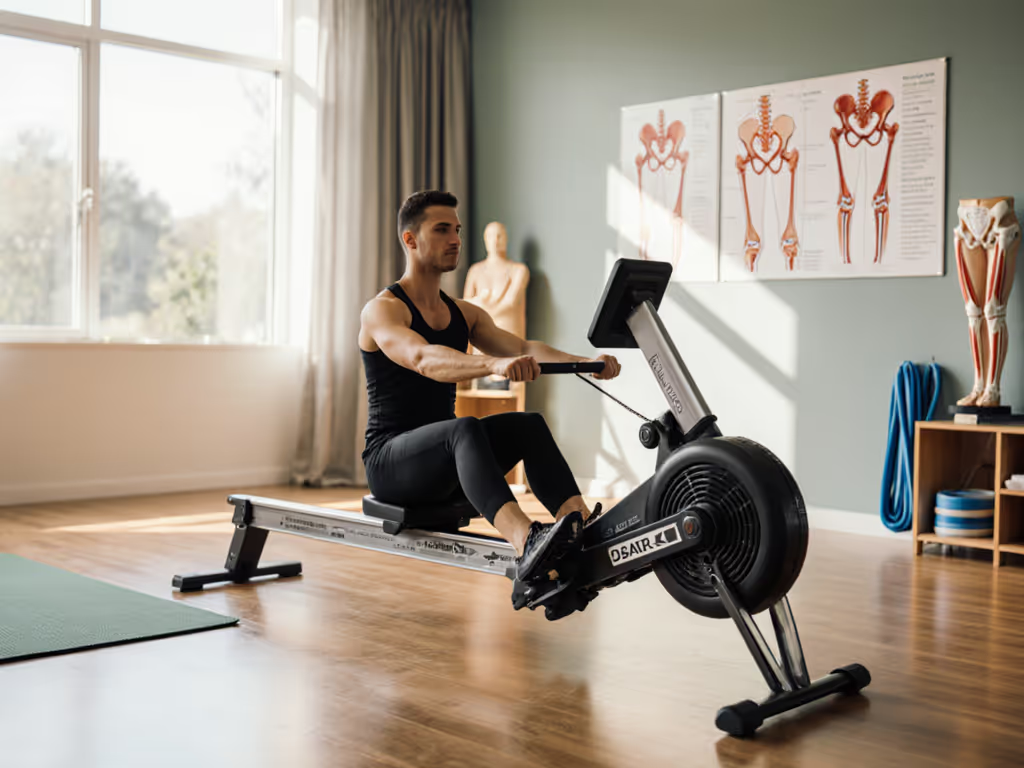
Rowing Rehabilitation Protocols: Knee and Hip Recovery
23rd Mar•9 min read
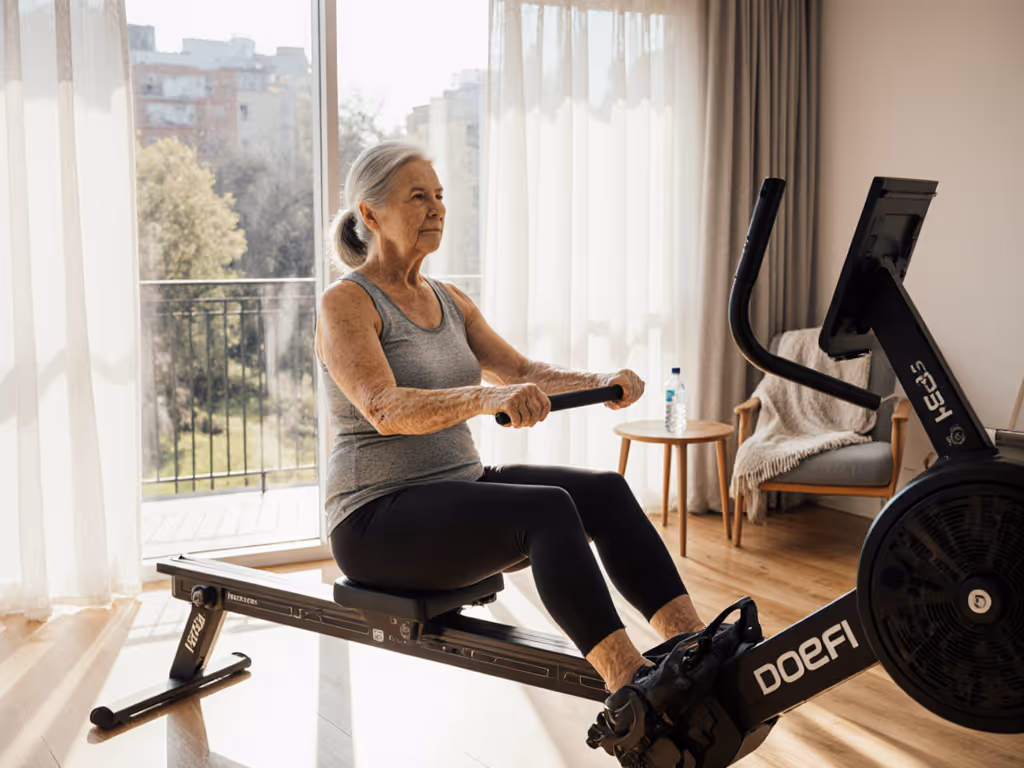
Rowing for seniors with balance is one of the most effective low-impact cardio options available, but only when your setup matches your body and your stroke mechanics respect your center of gravity. The good news: you don't need a fancy gym or a coach standing over your shoulder. A few measurable adjustments to your rower, combined with deliberate technique cues, can transform rowing from a source of anxiety into a repeatable habit you trust.
Unlike stationary cycling or walking on a treadmill, rowing demands that you shift your weight rhythmically while seated. Your center of gravity moves forward during the drive phase (when your legs push), then back again as your upper body leans. For seniors managing balance concerns (whether from age-related proprioceptive decline, past joint issues, or simply wanting to build stability), this dynamic demands precision.
Falls and loss of balance are leading causes of injury in older adults. Rowing, when done incorrectly, can exacerbate existing imbalances by either over-recruiting your lower back or by encouraging a slouch that destabilizes your core. The path forward is not to avoid rowing, but to engineer your setup and movement pattern so balance becomes a strength outcome rather than a source of strain. For a step-by-step plan built around joint safety, see our senior rowing modifications guide.
When you get the fit and form right, rowing offers a rare combination of benefits that directly address balance. The rowing motion is smooth and fluid, which reduces stress on your knees, hips, and other joints. At the same time, it strengthens multiple muscle groups (legs, back, arms, and core), which work together to stabilize your body and improve posture.
Your core muscles are critical for balance and stability. A strong core helps maintain a stable center of gravity, reducing the likelihood of falls. Rowing also builds leg strength, essential for mobility and confidence in everyday tasks like climbing stairs. Beyond strength, rowing improves proprioception (your body's ability to sense its position in space), which directly reduces missteps and trips.
The catch is simple: safe rowing modifications for seniors begin with understanding your body's geometry and then configuring your machine to match it.
I learned this lesson the hard way. A nagging back twinge crept into my rowing until I measured two angles: the pitch of my hip hinge at the catch (start position) and the angle of my ankle as my foot sat in the stretcher. Once I mapped those angles (my hip was closing too early at roughly 35 degrees when I should have been aiming for 45 degrees), small adjustments fell into place. I added a spacer under my rail, adjusted my foot stretcher angle by a few millimeters, and contoured my seat. The twinge vanished. Since then, I profile ergonomics first so workouts feel good enough to repeat.
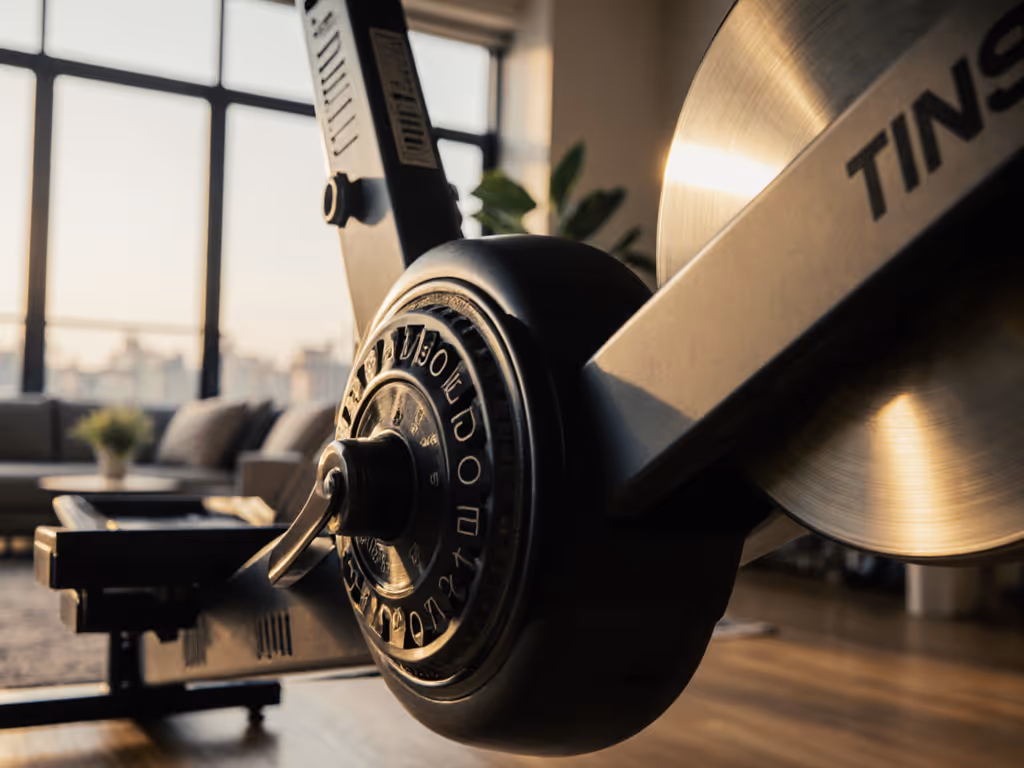
Here are the core contact points to measure and adjust:
Your feet are your foundation. The angle of your foot stretcher (the platform where your heels sit) should allow your ankle to flex comfortably without jamming or pointing your toes downward. Most rowers allow adjustments in the range of 0-10 degrees from horizontal. Start at 0 degrees (flat) and increase the incline only if you have naturally high or stiff ankle mobility.
Height matters too. Your heel should rest firmly on the stretcher so that your toes stay relaxed in the strap. If your heel is too high, you'll feel cramping in your calf during long pulls. Too low, and your shin flexors work overtime, pulling your core offline during the drive. If footboard comfort is a recurring issue, compare designs in our rowing machine footplate guide.
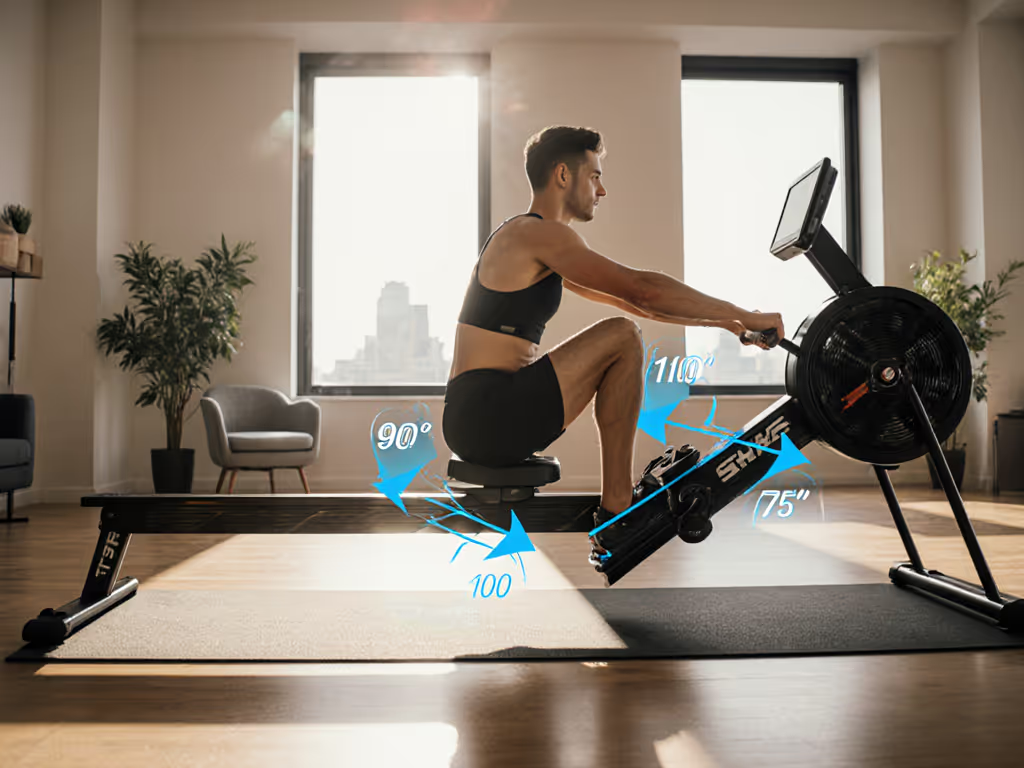
At the catch (legs fully compressed), your knees should form a comfortable angle (usually in the range of 40-50 degrees). You should feel no pinching behind your kneecap, and your shins should be roughly perpendicular to the ground. If your machine allows rail height adjustment, small changes (even 1/2 inch) shift this angle meaningfully.
Test this: sit at the catch and place your palm flat on your quad. Your thigh should be roughly parallel to the ground, not steeper. This position allows your hip extensors and quads to engage without overloading your lower back.
A thicker handle (often 32-35 mm) reduces hand fatigue and wrist strain during 20-40 minute sessions. A thinner handle forces your hand muscles to work harder, which can pull your shoulder forward and round your upper back, exactly the posture that destabilizes your core during the recovery phase.
The distance from the catch position to your torso should allow your elbows to fully extend forward without locking. Your arms should be straight but never hyperextended. This length is often fixed on the machine, but knowing your comfortable reach prevents you from hunching or overreaching.
If you're taller or shorter than average, the amount of rail you have available during the drive affects how far back your seat travels. A shorter rail can bottleneck your hip extension (the final, powerful part of the drive), while a rail that's too long may tempt you to overextend and hyperextend your lower back.
Measure your usable range: from full compression at the catch to the finish (where your shins are vertical and you're leaning back at roughly 45 degrees from your hips). You should use 60-80% of the available rail smoothly. If you're maxing out the rail or sitting idle in the middle, consider a different machine or check your foot stretcher and seat height first.
Once your machine is dialed in, your stroke technique becomes your insurance policy against balance loss. Here is a plain-language framework adapted for balance-conscious rowing:
Begin each stroke with your shins vertical and your weight forward over your feet. Your core should be engaged (imagine bracing as if someone will tap your stomach). Your back is straight, not rounded. Hold this position for one half second before driving. Why? It resets your balance and confirms your feet are secure in the stretchers.
Initiate the drive by pushing hard with your legs. Think "legs first, then back, then arms" (a sequence, not a simultaneous explosion). This order ensures your large muscle groups (quads, glutes, hamstrings) do the work while your core stays stable. As your legs extend, your hip angle opens gradually from roughly 35-40 degrees at the catch to 45-55 degrees at the finish.
Keep your shoulders level during the drive. Your head should track straight ahead, not bobbing or tilting. This stability at the top of your body is how proprioception stays online and your balance reflex activates if you do shift off-center.
At the finish, your legs are nearly straight (knees still slightly bent, never locked), and your upper body has leaned back at a 45-degree angle from your hips. Your elbows are drawn close to your ribs, and you're pulling the handle to your chest, not up to your neck, which would round your shoulders. Hold this position briefly (1 second). This pause confirms your posture and gives your core a moment of isometric activation.
The recovery is where many seniors lose their balance window. Reverse the sequence: arms first, then back, then legs. Push the handle away smoothly, allow your upper body to fold forward from the hips (not by rounding your spine), and only when your torso is nearly horizontal should your knees begin to bend again.
Keep your head and shoulders still during this phase. Your back stays straight. Avoid the urge to rush, a controlled 2 second recovery is far safer than a hurried 1 second collapse.
Your stroke rate should be moderate. Most seniors do best between 18-22 strokes per minute, which allows time to execute each phase with intention. Faster rates (24+ spm) compress your recovery and tempt sloppy technique; slower rates (14-16 spm) can feel sluggish and cause your mind to wander.
Begin with a 5 minute warm-up of light, slow rowing to establish your rhythm and confirm your setup feels right. Then row at a steady, sustainable pace for 15-25 minutes depending on your baseline fitness. This moderate, rhythmic approach is proven to build cardiovascular capacity without overexerting yourself.
After rowing, dedicate time to cooldown stretches targeting your shoulders, back, and legs, hold each for 15-30 seconds while breathing deeply. This prevents muscle soreness and reinforces the flexibility gains you've earned.
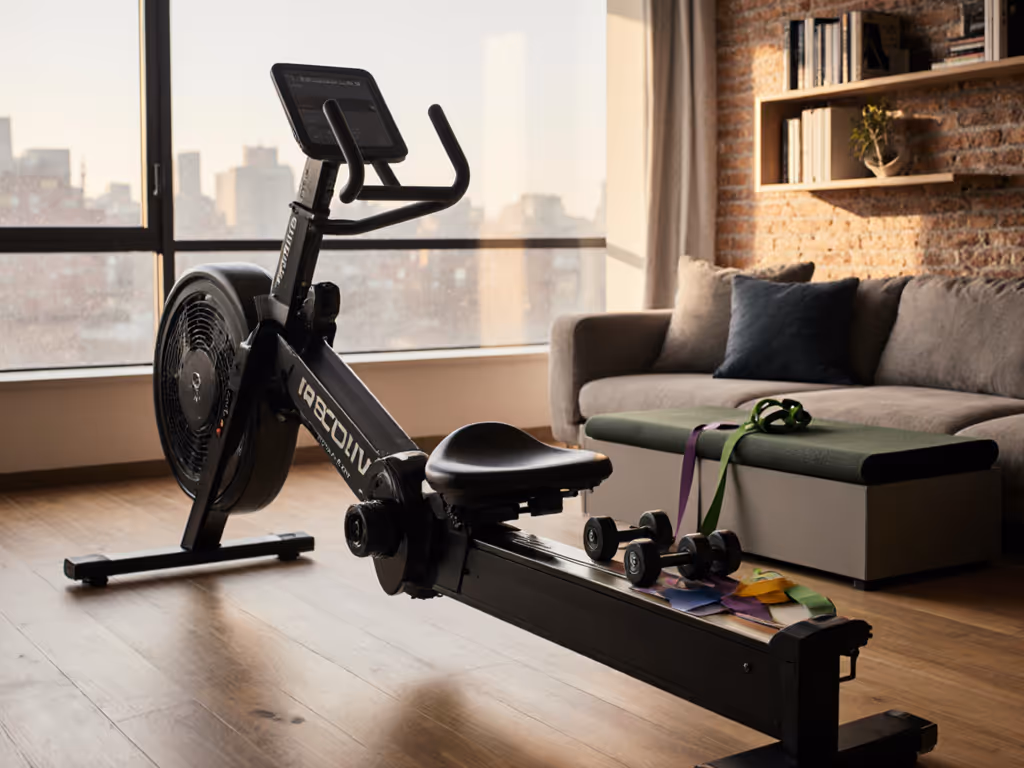
Your rower sits on your floor, and your floor can work for or against you. On a thin subfloor or older building, vibration and flex are real concerns. Placing your rower on a stability mat (often rubber or dense foam, 1 to 1.5 inches thick) dampens transmission to neighbors below and gives you a firmer base of support. We break down the best rower mats and comfort add-ons for quieter, steadier sessions. A solid, level surface is non-negotiable: if one foot doesn't touch the floor, adjust your space or shim the rower until it's stable.
Sit at the catch on your fully set up machine and gently rock side to side. You should feel zero wobble. If you feel any play, the machine is not ready for you.
If after two weeks of following this framework your back, knees, or shoulders still feel off, video yourself rowing from the side and compare your angles to this text. If knee or hip history is part of the problem, follow our rowing rehab protocols for knees and hips before increasing duration or intensity. Better yet, ask a rowing coach or a physical therapist familiar with rowing to watch a few strokes. One in-person correction (often something tiny, like a 1 inch seat shift) can unlock months of pain-free sessions.
Rowing for seniors with balance is not a paradox; it's an opportunity to build strength, stability, and habit in one low-impact practice. The path forward requires you to know your body's geometry, configure your machine to match it, and execute a deliberate, step-by-step stroke. Fit first, power follows. When you commit to measuring your angles and honoring your comfort signals, rowing stops feeling like a high-wire act and becomes the sustainable habit you actually keep.
Ready to deepen your understanding of rowing setup? Explore resources on stroke-rate variability, interval training for balance-building, or how to adapt your technique if you have prior knee or hip concerns. The more you learn about your body's relationship to the machine, the longer you'll row, and the stronger your foundation becomes.