Rowing Drag Factor: Precision Over Damper Settings
By Priya Nair • 24th Apr
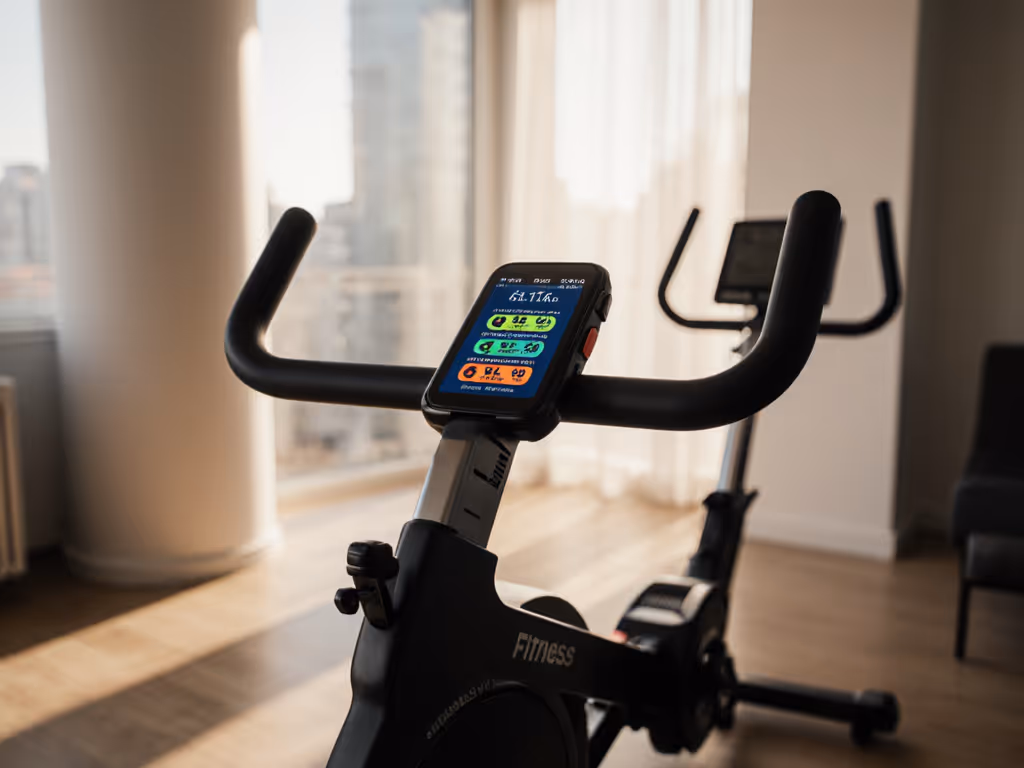
Drag factor is what standardizes your rowing resistance across machines and environments - damper settings are not. If you've noticed that the same damper number feels drastically different between your home rower and the one at your gym, or that your metrics don't track consistently week to week, the culprit isn't operator error. It's the difference between chasing a feel and measuring a physical constant.[1][2] For a deeper breakdown of lever feel versus true resistance, read our damper setting explained guide.
I discovered this the hard way. Years ago, I synced my training data across multiple apps, each locked into its own ecosystem. When a firmware update broke one vendor's connection protocol mid-interval, my data siloed overnight - my splits stopped flowing to Health, my pace vanished from Strava, and weeks of careful periodization became orphaned metrics in a closed system. I rebuilt that year around open protocols: FTMS (Fitness Machine Service, Bluetooth), ANT+, and local CSV exports. The baseline shift? I stopped trusting damper settings and started measuring drag factor on every machine I touched. That consistency, combined with open data pathways, meant I could train anywhere and own every data point. If you're choosing hardware, see our open connectivity guide to avoid data lock-in. Your data, your routes, your pace - not the algorithm's.
Let's cut through the confusion. You'll learn why damper settings mislead you, how drag factor actually works, how to measure it reliably, and why mastering it is non-negotiable if you want trustworthy progress tracking across rowers and apps.
Damper Settings vs. Drag Factor: What You're Actually Controlling
The Damper: A Proxy, Not a Specification
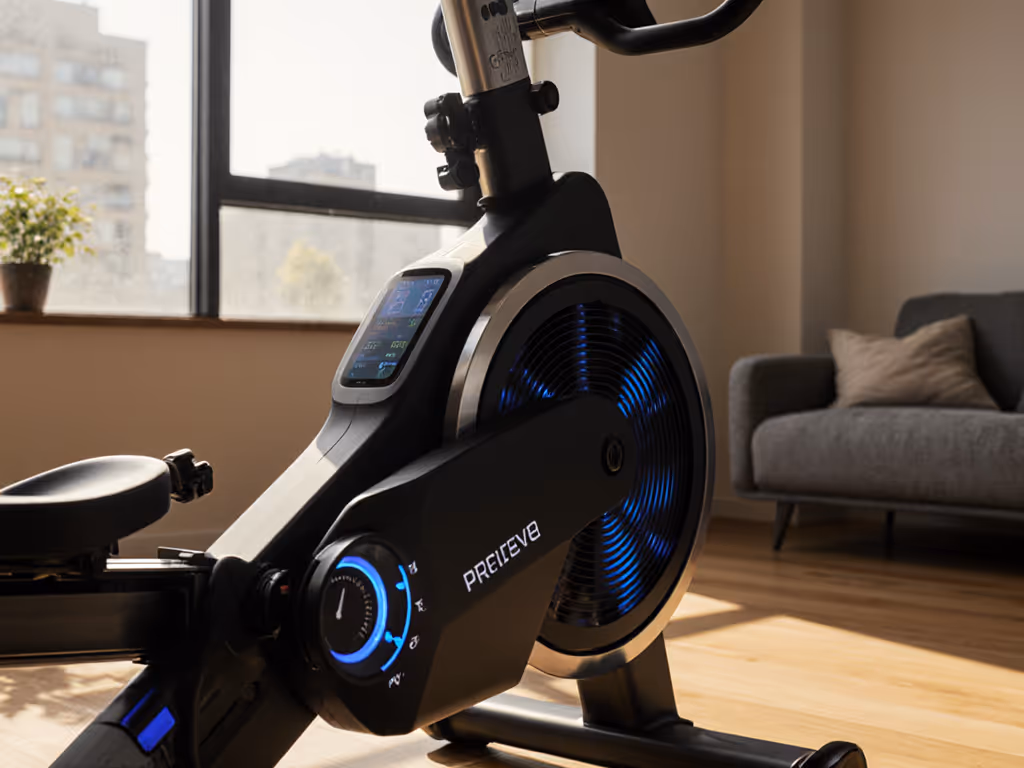
The damper is a mechanical lever on your Concept2 or similar air-resistance rower, typically numbered 1-10.[3] It controls how much air enters the flywheel housing during the recovery phase. Move the lever toward 10, and you're opening an aperture that lets more air rush into the flywheel, increasing resistance. Move it toward 1, and you're restricting airflow, making the flywheel coast longer and feel lighter.
Sounds straightforward. It isn't.
The damper is a control variable, not a measured outcome. Two rowers (even identical Concept2 RowErgs on the same production line) will exhibit different drag factors at the same damper setting.[1] A damper setting of 5 on your home machine might produce a drag factor of 115, while the machine at your gym produces 140. Neither is miscalibrated; both are responding to invisible environmental and mechanical differences.
Drag Factor: The Measured Constant
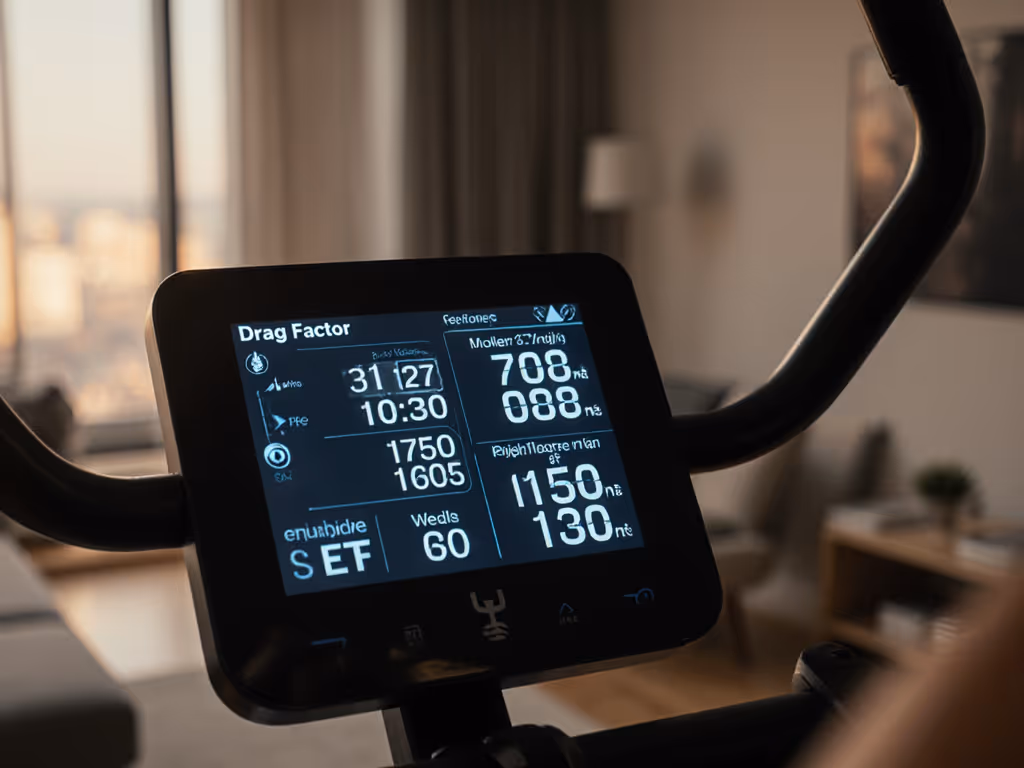
Drag factor is the rate at which your flywheel decelerates during the recovery phase between strokes.[1][2] The Performance Monitor on your rower measures this deceleration and displays it as a number - typically in the range of 80-210 for Concept2 RowErgs. This number is precise because it's derived from actual physics, not a lever position.
Here's the difference that matters: two rowers set to the same drag factor of 130 will feel nearly identical, regardless of their damper setting or machine age, because they're both decelerating at the same rate. This precision is why competitive rowers, ergometer benchmarking protocols, and any standardized training program reference drag factor, not damper number.
Why Damper Settings Drift and Drag Factor Doesn't
Your drag factor fluctuates based on five primary factors (all tied to airflow physics, not user error):
Machine Cleanliness Dust and dirt accumulate inside the flywheel housing over months of use. This buildup restricts airflow slightly, lowering your drag factor. A neglected machine at a commercial gym might lose 10-20 drag factor points over a season. On a clean machine, damper setting 5 produces approximately 120-130 drag factor. On the same machine six months later, dusty, damper setting 5 might produce only 100-110.[1][2]
Environmental Conditions Altitude, temperature, and humidity all affect air density - the medium that slows your flywheel:
- High altitude = thinner air = lower drag factor (same damper, less deceleration).[1]
- Cold, dense air = higher drag factor; warm or humid air = lower drag factor.[1]
- This is why rowers training in Denver or Mexico City see systematically lower drag factors than rowers at sea level, and why seasonal swings of 5-15 points are normal.
Machine Age and General Condition Flywheel bearings wear; seals loosen; internal surfaces accumulate micro-debris. A five-year-old Concept2 RowErg will have a slightly lower baseline drag factor than an identical new unit, even on the same damper setting.[2]
Comparison Matrix: Why Damper Settings Fail as a Standard
| Factor | Effect on Drag | Effect on Damper Consistency | Risk of Sync Loss |
|---|---|---|---|
| Machine A, new, damper 5 | ~130 | Baseline | Low |
| Machine B, 1-year-old dust, damper 5 | ~110 | Same lever, different feel | Medium |
| Machine A, cold day | +8 to +12 points | No visual change | Medium |
| Machine C, high altitude | -15 to -25 points | Feels lighter; user may raise damper unnecessarily | High |
| Machine A after cleaning | +10 to +18 points | Sudden jump; user confused | High |
If you rely on damper position for consistency - say, "I always use 5" - you're flying blind. The actual resistance varies. Your app receives inconsistent stroke data. Your pace looks erratic. Sync services that normalize watts or splits across machines struggle. Over time, this noise compounds: you can't tell if your fitness improved or if you're just rowing a cleaner machine.
Open beats closed when your data fuels long-term habits. If your training platform is locked to one vendor's proprietary calibration, you accept their interpretation of noise. If you measure and export drag factor directly (via open FTMS or ANT+ protocol) you own the ground truth.
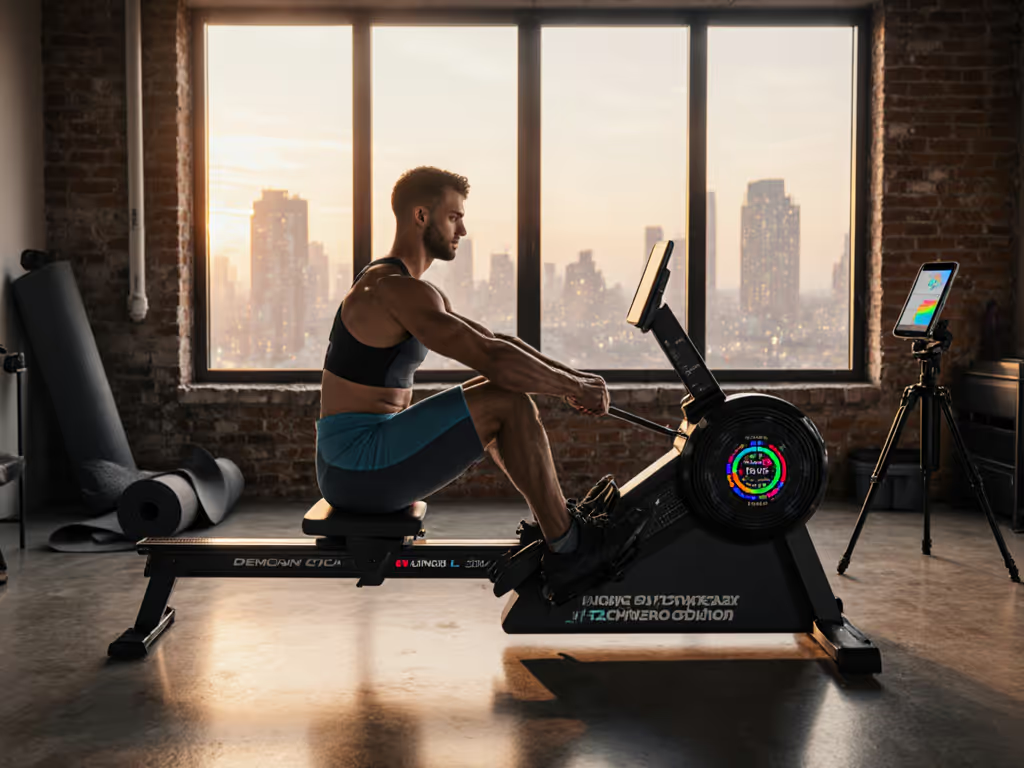
How to Measure and Set Your Drag Factor
Step 1: Access the Drag Factor Display
On Concept2 Performance Monitors (PM5 or PM6), navigate to More Options → Display Drag Factor.[1][3] For monitor accuracy differences and what metrics really matter, see PM5 vs iFIT. Take three to five strong strokes at your intended pace. The monitor will cycle through your drag factor for each stroke; it typically stabilizes within 5-10 strokes.
Step 2: Adjust Your Damper and Recheck
The Concept2 guideline for beginners: damper setting 3-5 produces a drag factor of approximately 100-140, depending on conditions.[2][3] Competitive rowers often prefer 110-130; lightweight rowers may prefer 100-120; heavier rowers or those seeking higher resistance may prefer 130-160.[2]
Adjust your damper up or down in 1-position increments and retest. Each increment typically shifts drag factor by 10-25 points (variance due to machine state).
Step 3: Verify Consistency Across Machines
When you move to a new machine - your gym, a coaching facility, a friend's apartment - repeat Steps 1 and 2. A machine with 15+ points of drag factor drift indicates cleaning is overdue. A sudden 20+ point shift between similar machines in the same environment signals altitude, temperature, or mechanical differences.
This is where open protocol support matters: rowers with native Bluetooth FTMS or ANT+ export real-time drag factor to coaching apps and health platforms. Apps like Ergatta, Concept2 ErgData (when paired via FTMS), or open-source logging tools can record and trend drag factor session-to-session, alerting you to drift. Closed apps or proprietary Bluetooth implementations often hide this data or log it opaquely, forcing you to eyeball consistency and guess at environmental causes.
Practical Application: Standardizing Your Data Across Environments
Single-Machine Workflows
If you row exclusively at home or at one gym, establishing a baseline drag factor is primarily about comfort and confidence. Choose your preferred drag factor (e.g., 120), note your damper position to reach it, and stick with that target. Every four weeks, re-verify your damper hasn't drifted (especially if your machine has accumulated dust) and record any environmental deviations (seasonal cold/heat).
Multi-Machine Workflows (Home + Gym, or Coaching Facility)
This is where precision compounds. Establish a primary machine baseline - typically your home rower or the machine you use most frequently. Define your preferred drag factor: 120 ± 5. When you row at a secondary location (gym, coach, friend's rower), measure drag factor immediately and adjust the damper to match your baseline range. Record both the damper setting and the drag factor in a simple log - CSV, Apple Notes, or a wearable's native training log.
Over 8-12 weeks, you'll accumulate a risk profile:
- If Machine B consistently requires damper 3 while your home machine requires damper 5 to hit 120 drag factor, you now know Machine B is cleaner or at higher altitude. Your splits on Machine B may be faster due to lower drag, not improved fitness - critical context when comparing sessions across locations.
- If seasonal temperature swings shift your home machine's drag by ±15 points, you won't misinterpret winter slowness as detraining.
Cross-Platform Data Portability
Measuring drag factor is only half the battle; owning that data is the other half. Any rower exporting via FTMS Bluetooth or ANT+ can stream drag factor (along with power, pace, HR) to platforms like:
- Apple Health (via FTMS-compliant apps or native HealthKit integration)
- Strava (rowing workouts with drag factor metadata)
- Garmin Connect (ANT+ or Bluetooth sync)
- TrainingPeaks, WKO5, or other coach-grade analytics
If your rower is proprietary-Bluetooth-only (e.g., closed to a single vendor app), you cannot easily export drag factor to other ecosystems. To find machines that sync cleanly with these apps, check our Strava-compatible rowers guide. A firmware update by the vendor could break your data pipeline. You lose portability, lose comparability, and lose autonomy.
Environmental Factors: A Risk Disclosure
Version variance: Concept2 Performance Monitors (PM5 vs. PM6) display drag factor slightly differently, though the underlying measurement is equivalent. If you move from a PM5-equipped rower to a PM6 gym machine, expect ±2-3 drag factor points of display variance; this is measurement noise, not mechanical drift.[7]
Altitude sensitivity: Rowers training at elevation (Denver, ~5,280 ft) experience ~10-15% lower drag factor than sea-level peers on identical machines. If you travel between altitudes or relocate, recalibrate your drag factor baseline or risk over-interpreting pace changes. For climate-specific performance and care tips, see our desert-tested performance guide.
Thermal lag: Flywheel drag factor can fluctuate ±3-5 points in the first 10-15 minutes after a cold start (unheated room, winter conditions). For consistent benchmarking, take your drag factor measurement after 3-5 warm-up strokes, not on your first pull.
Machine-to-machine manufacturing tolerance: Even new Concept2 RowErgs from the same production batch can differ by ±5-10 drag factor points at the same damper setting.[2] This is within acceptable engineering tolerance, not a defect.
Conclusion: Measure What Matters
Damper settings are intuitive - a physical lever feels like control. But drag factor is the actual physical standard that makes your training reproducible, comparable, and portable. Every time you row at a new machine or notice your splits shifting, you have a choice: adjust your damper by feel and guess at consistency, or spend 30 seconds measuring drag factor and knowing your resistance is locked to a physical constant.
For rowers who value open data pathways and cross-platform sync - those who want their metrics in Apple Health, Strava, and their coaching app simultaneously - drag factor precision is foundational. It's the bridge between your home rower and every other machine you'll ever touch. More importantly, it's the baseline for exporting trustworthy data to ecosystems you control, not ones that hold your metrics hostage behind a firmware update or subscription wall.
The deeper you train, the more machines you'll encounter, and the more critical this distinction becomes. Start measuring drag factor today. Log it alongside your damper position. When you sync to an open platform, carry that number with you. Your future self - whether you're chasing a PR or simply staying consistent across a season - will thank you for the precision.
Next steps: If your rower supports FTMS or ANT+, test drag factor export to your primary tracking platform this week. If it doesn't, evaluate whether open protocol support is a factor in your next equipment decision. Your data, your routes, your pace - make sure the rower you invest in honors that principle from day one.
Related Articles
Training, Technique & Benefits
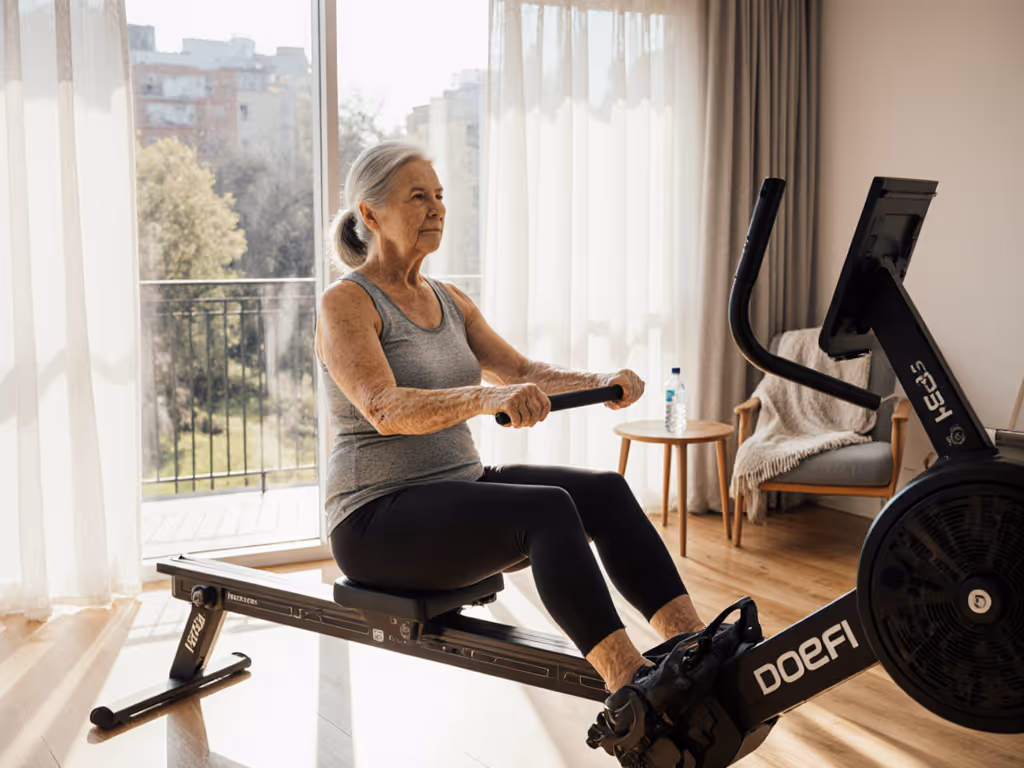
Rowing for Seniors With Balance: Safe Modifications
31st Mar•10 min read
Training, Technique & Benefits
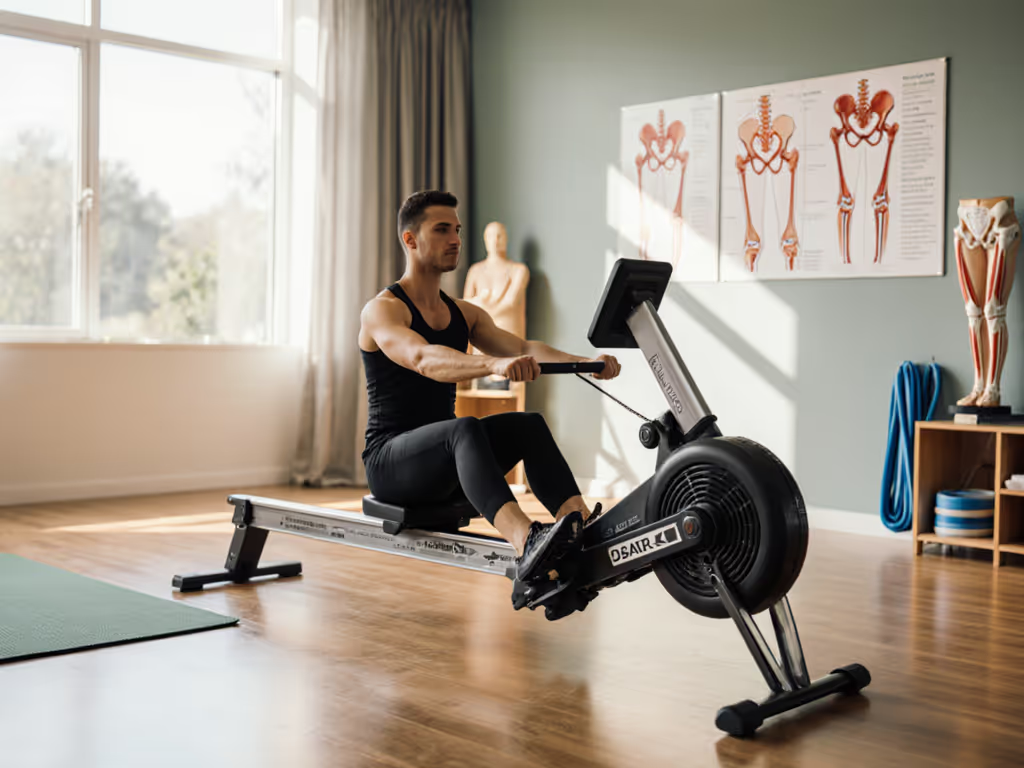
Rowing Rehabilitation Protocols: Knee and Hip Recovery
23rd Mar•9 min read

Training, Technique & Benefits
Rowing Resistance Biomechanics: How Each Type Affects Your Stroke
11th Mar•8 min read